DJI Mavic Firmware V01.04.0400 Update Issue

Posted on Leave a comment

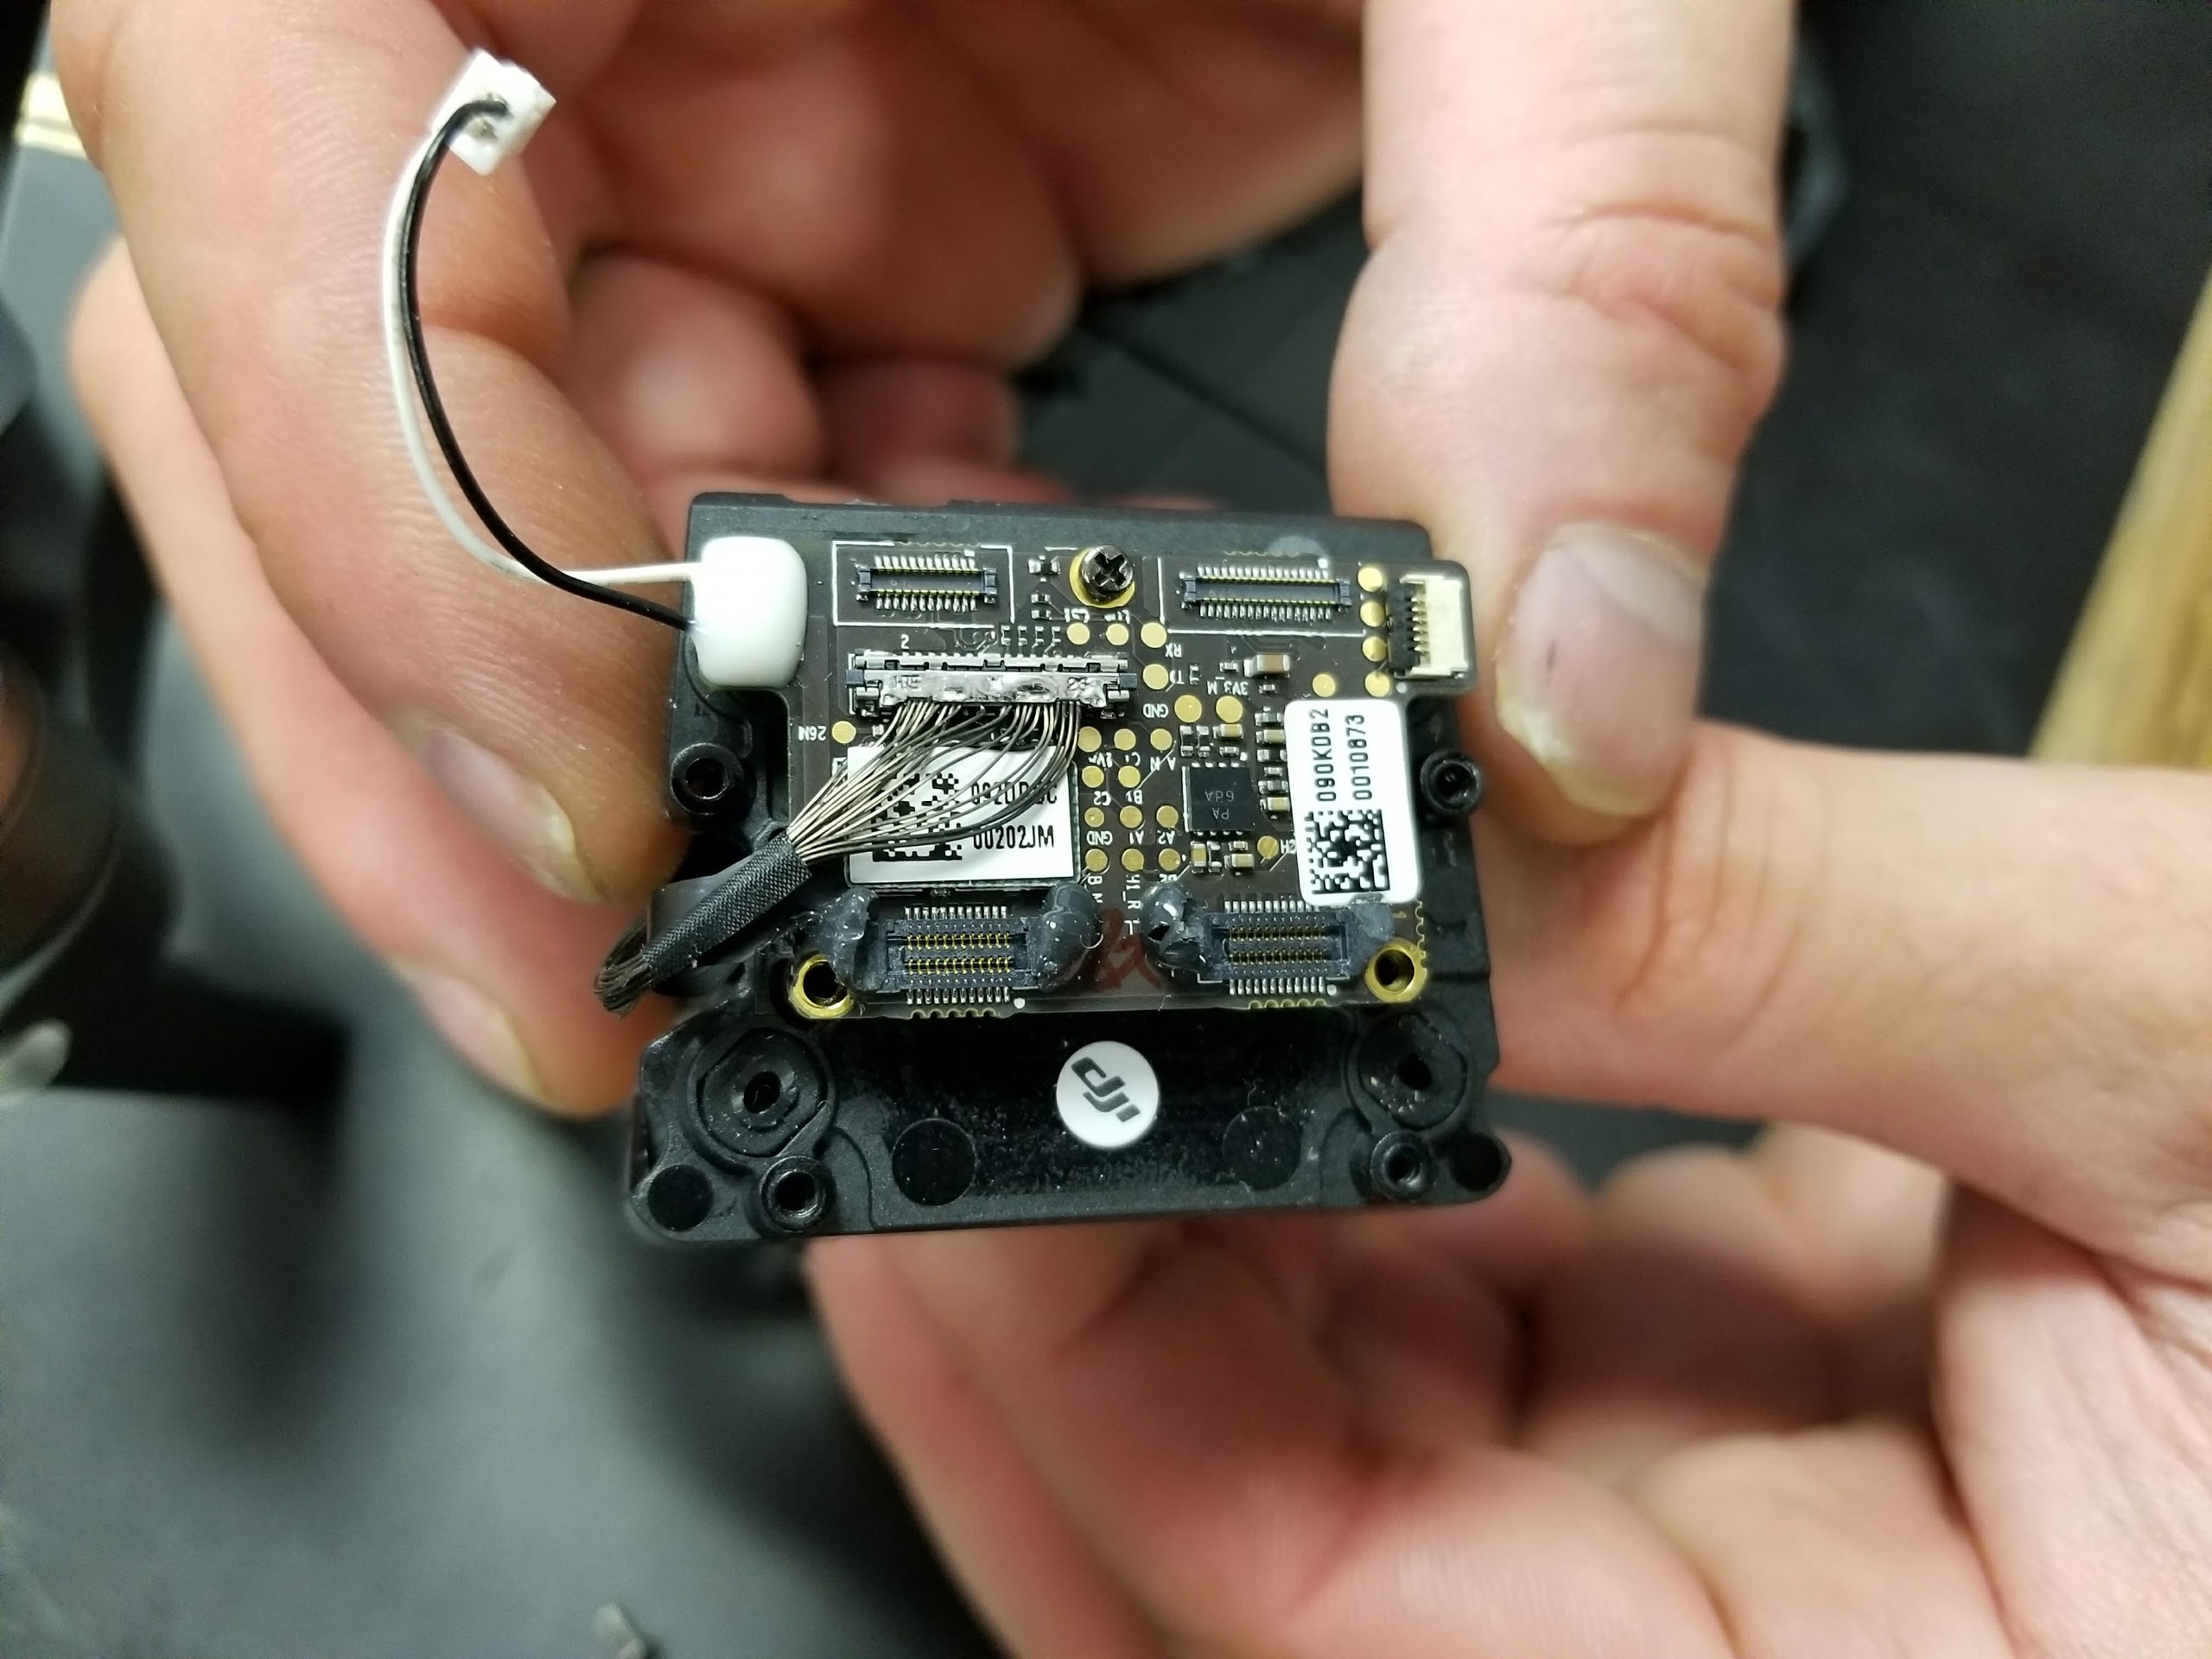
As a premier DJI repair facility, there has been a recent spike in firmware related issues specific to various current DJI products. The issue is classified as critical due to the high probability that numerous hardware components and functions are rendered inoperable following updates even when successfully completed.

Issues we’ve encountered on nearly all submitted DJI repairs in the last 10 days included some or all of the following:

-Loss of all camera focus capabilities

-Loss of aperture, shutter speed and ISO control -Loss of video feed -Loss of camera mode control -DJI Go 4 app displays all camera settings as N/A -Corruption of Occusync core board requiring total replacement -App continually alerts you to update firmware despite being current (not all cases)

If your DJI aircraft is not running the most current firmware we highly recommend not updating it and contacting us immediately. DJI has confirmed the issue is widespread and their course of action is to attempt a roll back on the aircraft to the previous version suggesting this will temporarily solve the issue. We know for fact it will not and their second and final option is to send in the aircraft for repair which is forwarded directly to ASIA as DJI does not have a solution.

Fortunately we have solved this issue and have successfully restored all functionality on the latest firmware for all out customers that have encountered this frustrating issue. The resolution is time consuming but extremely effective. If you would like to avoid the issue completely or are currently grounded due to the issues listed above, contract AerialPixels today and get back in the air in as little as 24hrs. Our flat fee for this repair is $125

DJI Care Refresh Experience

Posted on Leave a comment

Recently DJI began offering an add on protection service to reduce repair expenses for drone pilots. As a leading repair facility based in Los Angeles, we receive repairs from across the USA. Many of the DJI products we repair are submitted by owners who purchased the DJI Care Refresh and have opted to not use it. A quick Google search for “DJI Care Refresh experiences” will certainly give you plenty of reasons why, however online forums are often riddled with posts from those with bad experiences. Customers with great experiences rarely post in these forums so we thought it would be helpful to give you our perspective based on facts so you can make a more informed decision when it comes to purchasing DJI Care Refresh or filing a claim.

If you’re about to lay down your hard earned cash on a new DJI drone, coming up with the extra funds can be a real stretch for some consumers. Keep in mind that once your drone is powered up and the DJI Go 4 App connects to the internet, you have just 48 hours to register a DJI Care refresh service to that drones serial number. If you miss that opportunity, DJI offers a more involved method of proof where you must submit a video of the drone in the air operating. DJI Care Refresh coverage lasts for 12 months and cannot be renewed. The cost is based on the DJI aircraft you’re planning on covering, and costs range from $59 – $299 dollars. Under the plan you can receive two replacement products in the 12 months. While there is no deductible, DJI does charge you a fee each time you send in a drone for replacement. However you want to word the fine print, it sure sounds like a deductible to us! The fee varies from $49 – $209 the time and costs up to $329 the second time. Prices in Europe, UK and AU may vary. If you have an aircraft like the Inspire 2, the gimbal must be covered under a separate policy and has its own associated replacement fees.

In addition, there are a list of exclusions where DJI will deny your claim and provide you with a repair estimate instead.


DJI Care Refresh does not cover the following:
1) Lost or partially lost aircraft, gimbal or accessories.
2) Stolen, forgotten, or abandoned product.
3) Damage caused by flight under unsuitable conditions.
4) Remote controller, battery of Inspire 2, Phantom 4 Pro and Phantom 4 Advanced, and modification accessories.
5) Deliberate losses.
6) Abrasions and shell damage that do not affect the performance of the product.
7) Direct or indirect losses caused by force majeure.
8) Replacement requests for damage incurred outside the period of validity.
9) Extra fees resulting from technical enhancements or performance improvements.
10) Damage resulting from modifications that are not in accordance with manual recommendations, or the use of incompatible batteries and charger.
11) Damage resulting from the use of third party accessories, batteries or software.


Based on the information provided above, you may be unsure if DJI Care Refresh is a good investment. In certain circumstances we feel the DJI Care Refresh provides peace of mind when a crash is catastrophic, particularly on a more expensive model. Cameras like that found on the Inspire 2 and Phantom 4 Pro are very expensive. Having the plan can provide much needed financial relief when the parts hit the pavement.


What if I need it repaired right now?

The reason many pilots are skipping out on DJI’s replacement plan for routine repairs is quite simple. Most of our customers that the process is cumbersome and time consuming, often taking weeks longer than initially projected. Others are put off by DJI’s habit of replacing your drone with a different one thats “like new” instead of repairing the original.


What if my claim is denied?

Customers who’ve endured the process of filing a claim and been denied are presented with a factory repair estimate at their weakest emotional state. Feeling hopeless they accept the repair costs and bite the bullet. The fact that DJI makes some repair parts impossible to obtain for self repair, it’s no wonder why customers are frustrated and unhappy.

Repairs options are available!

Like any repair on your car, home or electronic product, repair options that meet or even exceed factory standards are available. As a 5 star Google rated repair facility, we understand how important it is to get back in the air. Your job, vacation or business may depend on it. If you have DJI Care Refresh we recommend hanging on to your two replacements for dire emergencies. Wasting it on routine, low cost repairs can leave you heartbroken should you encounter a serious crash after your Refresh plan runs out or expires. Before you contact DJI, consider professional repair service options like AerialPixels. Repairs are guaranteed and more affordable than you may expect. With same day service available it’s great to know you have options when you’re in a jam.


DJI Mavic Pro Takes Epic Journey

Posted on Leave a comment
Fabio
Fabio V

At AerialPixels everyday is truly an adventure. No matter how hectic things can get, I never lose sight of how important our customers and clients are. When Fabio walked through our door just five minutes to closing, I had no idea how much of an impact he would have on not only myself, but also the entire staff at AerialPixels. Unable to speak more than a few words of english, we used Google translate on our phone to communicate. To our amazement, Fabio had driven his BMW motorcyle to Los Angeles to have his Mavic repaired. That may seem like no big deal until you consider that his trip began in Brazil! His story went on as he explained his trip of a lifetime would take him north to Alaska. His final destination would be Miami, where his belongings and motorcycle would be shipped back home. Throughout the trip his wife and children flew to various places like the Grand Canyon to meet with him.

The trip of a lifetime certainly deserves to be documented in style, but Fabio’s Mavic had a bit of a rough ride and was suffering from the typical gimbal issues that plague many Mavics that have taken a bit of abuse. Since Fabio was passing through and had no address for shipping, we took his Mavic to the shop and assessed the damage. Fabio decided LA would be a cool place to kick it for the night and enjoy some dinner, so we helped him find a great place to stay for about $65 bucks and told him to meet us at the shop in the morning after a well deserved night of sleep.

DJI Mavic Ribbon Cable damage

As you can see, the ribbon cable on Fabio’s Mavic Pro had delaminated and bubbled up. With copper traces damaged, the gimbal shook and vibrated while the DJI Go App reported hardware errors and other camera related problems.

When Fabio rolled in around 11 am the next morning, his Mavic was as good as new. We updated the firmware, calibrated the IMU, obstacle avoidance sensors and performed a test flight. Just for good measure we also like to shoot a few seconds of video to confirm thats working as well.

Fabio was overjoyed. Much of his family will never have the opportunity to leave their small town. The video and images from this epic trip are irreplaceable memories. Everyone at AerialPixels is deeply appreciative we could make such a profound difference.

DJI Mavic Pro Gimbal Repairs

Posted on Leave a comment
Mavic Pro Repairs

In this post we will be replacing the DJI Mavic Pro camera gimbal ribbon cable. While the DJI Mavic Pro is rapidly becoming one of the most popular drones among enthusiasts and pro’s alike, it’s also among the more difficult drones to work on, and replacement parts are nearly impossible to come by. Despite sporting forward facing obstacle avoidance, the Mavic Pro’s camera is incredibly prone to damage. In fact, nearly all Mavic Pros we see on a daily basis have some type of camera related damage.

Mavic Pro camera connections

In this post we will be removing the gimbal to perform a repair. Gimbal damage can cause some extremely small and fragile connections to become severed resulting in a loss of video, loss of stabilization, or both. This customers Mavic still had a working video feed. We sourced a replacement gimbal ribbon cable to restore the gimbal’s stabilization to factory performance. In this image we have removed the top of the Mavic to reveal the very thin ribbon cable connections.

mavic Pro Gimbal

After removing the screws that secure the gimbal mount as well as the electrical connections, the gimbal can be removed from the aircraft. To separate the gimbal from the mount, we use tweezers to carefully unhook the vibration isolators. The ribbon cable we will be replacing is easily recognized by the white writing.

DJI Mavic Pro Gimbal

With the gimbal removed and rotated, the interconnect panel above is visible. Notice the multi-strand cable toward the center left. This is the HDMI ribbon cable which carries the video. Fortunately this cable is intact. These individual strands are nearly impossible to repair if broken.

DJI Mavic Pro Ribbon Cable Repair

With the mount separated from the gimbal, the ribbon cable is more easily seen. This cable is approximately six inches in length and has numerous connections which must be routed carefully through various openings. Since all 3 axis of motion rely on this cable, any damage will render your mavic useless. The design leaves much of the cable completely unprotected as it wraps around the lens with slack to allow for unrestricted movement. Pictured here is the end of the cable prior to removal.

Mavic Pro ribbon cable

With the cover removed, the multi-strand HDMI cable is exposed. Notice the black ribbon cable which wraps around and across before terminating into a silver tab located in the open rectangle. This is just one of several connections which must be carefully handled both during removal and reinstallation of the new ribbon cable. It’s worth mentioning that the HDMI cable can easily be damaged from handling or while reinstalling the covers which can pinch the strands.

Mavic Pro disassembled

With the ribbon cable replaced, we reinstalled the gimbal and reconnected the wires. We powered it up, confirmed the gimbal was operational, and went the extra mile for our customer by updating the firmware. After the update, all sensors were calibrated and the aircraft was test flown. Best of all, the entire repair was completed the same day our customer dropped it off for repair.

For guaranteed repairs in record time contact AerialPixels or visit our Los Angeles location in person. 800-411-9635

Inspire 1 Repair

Posted on Leave a comment

We received this Inspire 1 for repair and thought it would be cool to show a few images of the repair process. The crash damage was extensive and is a perfect opportunity to get an inside look at the Inspire 1. Once we received the aircraft, a detailed estimate outlining all the repair costs is emailed to the customer for approval. We sourced the internet for replacement parts and received them in 3 days. This repair took aproximately 90 minutes to complete and the customer was back in the air in less than a week!

Inspire 1 retractable mechanism repair

The crash damaged the retractable landing gear lead screw. Unfortunately this component cannot be repaired and must be replaced. This part routinely sells for nearly $400 dollars. We were able to locate a brand new one for our client for $160.

Inspire 1 battery compartment repair

Also damaged in the crash is the forward battery compartment upright. This component is located directly below the copper tabs that engage the battery pack. The pins displayed here align with holes in the Inspire 1’s white canopy and keep it aligned. Since these are bent, the Inspire canopy appeared to be twisted.

Inspire 1 battery compartment replacement

The electronics distribution PCB board was transferred from the plate with the bent pins. Due to the location of this component, all electrical connections in the Inspire 1 must be carefully reconnected. The cables going to the GPS and the vision positioning system are especially fragile due to their length being “just long enough.” The GPS cable on this aircraft was damaged and was repaired in house to brand new condition since a replacement was unavailable.

N1 Lightbridge antenna connections

The N1 flight controller includes four antennas. These must be carefully removed before setting the N1 aside to replace the retractable landing gear mechanism. Any sharp bends or kinks in these cables will result in decreased range.

Here we can see the Inspire 1 with the N1 flight controller removed.

Inspire 1 repair

After completing the repair, a full system check is performed. Firmware updates are installed, followed by an IMU, GPS and camera calibration. A test flight is then performed.  This Inspire 1 is ready for action once again. Total repair time including shipping of parts was 4 days and we saved the client $250 off the parts.